
You can import data that is already annotated into Lettria. Here is how.
If you have data that is already annotated, it is possible to import the annotations into a Lettria annotation campaign.
In this article:
- Lettria JSON format
- Upload your file
- Define import options
- Create dataset
1. Lettria annotation JSON format
Pre-annotated data needs to be in the Lettria annotation JSON format, as below.
{
    "version": "1.0",
    "assets": [
        {
            "text": "The product is expensive",
            "spans": [
                {
                    "labels": ["SUBJECT"],
                    //or
                    "label": "SUBJECT",
                    "start": 4,
                    "end": 11
                },
                {
                    "labels": ["PRICE"],
                    "start": 15,
                    "end": 24
                }
            ]
        }
    ]
}
2. Upload your file
Follow the steps to create a new dataset, and upload your JSON file.
When importing annotated data, you can only upload one file at a time.
3. Define import options
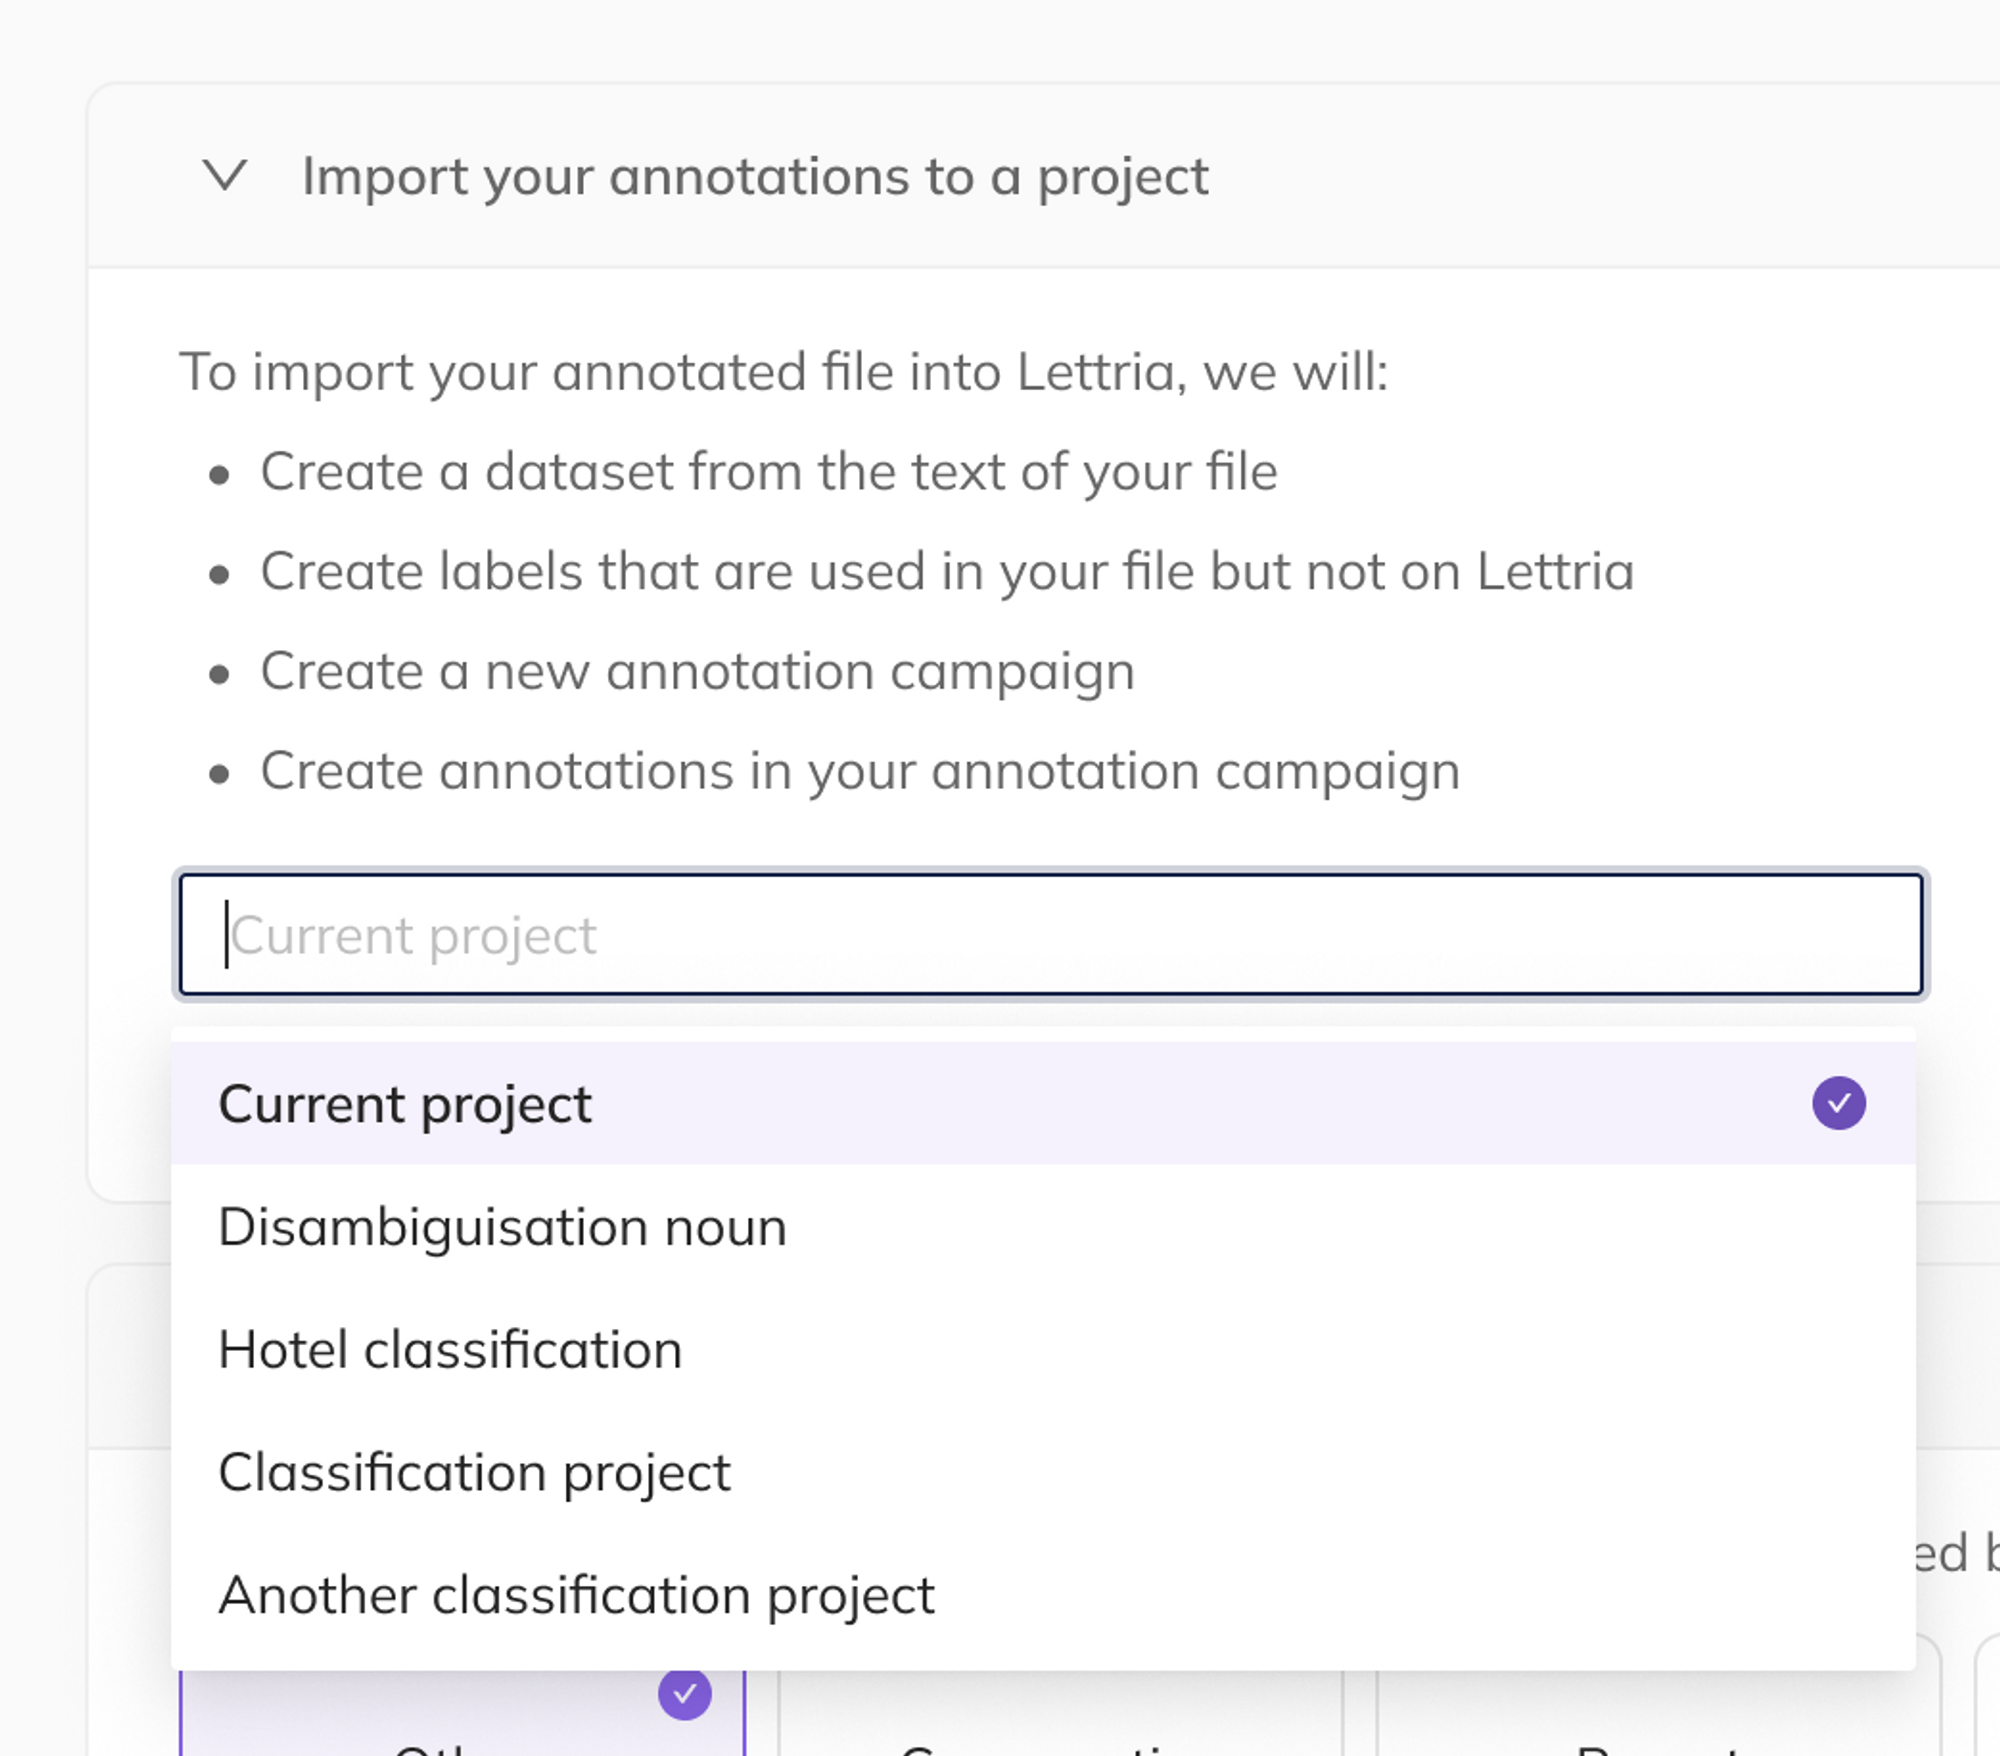
If your file follows the Lettria JSON format, you should see a prompt that says Import your annotations to a project. Good job!
If you don't see this prompt, you should check to make sure that your JSON format is correct.
Choose the project to import into
The next step is to choose which project your data should be imported into.
Only projects that you have the user rights to upload data into are displayed here.
Use labelling as pre-annotation
Choose Yes if you are sure of the annotations for your data. This option will create a completed annotation in the annotation campaign for this dataset, without needing to validate the annotations beforehand as Pre-Annotations.
This option is useful if you already annotated your data manually before uploading.
Choose No if you want the annotations to be imported as Pre-Annotations in your dataset. This will upload your annotations as suggestions, which you can then go through and validate manually.
This option is useful if you didn’t annotate your data manually, or if someone else did it and it requires validation.
Read more about pre-annotation here.
4. Create dataset
Follow the rest of the steps as detailed in the article to create a dataset.
If you need more help, please reach out to us at hello@lettria.com